Disable a Laptop Keyboard on Windows 10
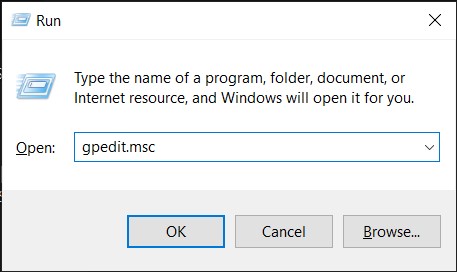
First and foremost, connect your external keyboard or enable the on-screen keyboard so you have a backup to fall on. After that, press Win + R to open the Run menu. Here, type gpedit.msc and hit enter.
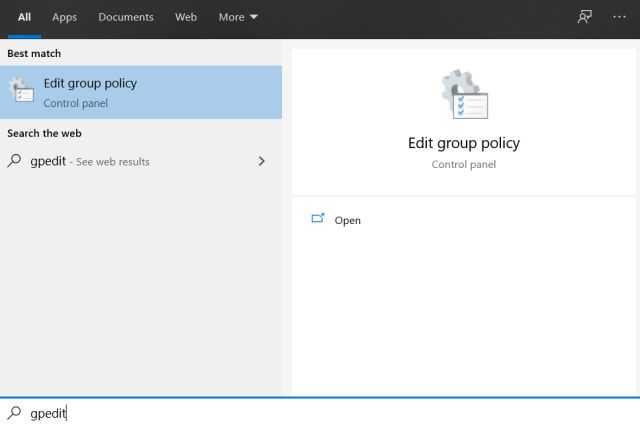
If you are running Windows 10 Home then you can follow our guide and learn how to enable Group Policy Editor on Windows 10 Home edition.
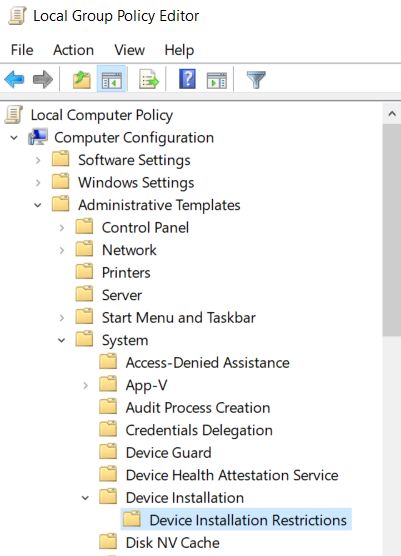
Once the Group Policy Editor is launched, navigate to Administrative Templates -> System -> Device Installation -> Device Installation Restrictions.
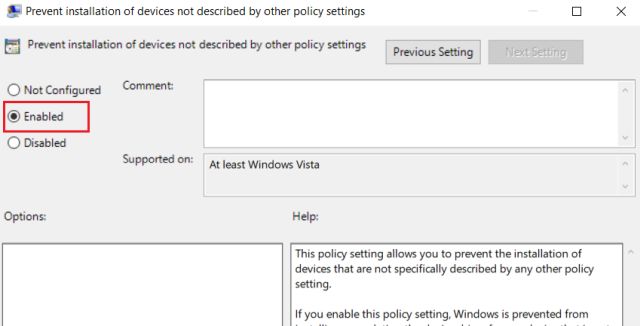
Here, double click on “Prevent installation of devices not described by other policy settings” and then enable the policy. After that, click on “OK” and restart your computer.
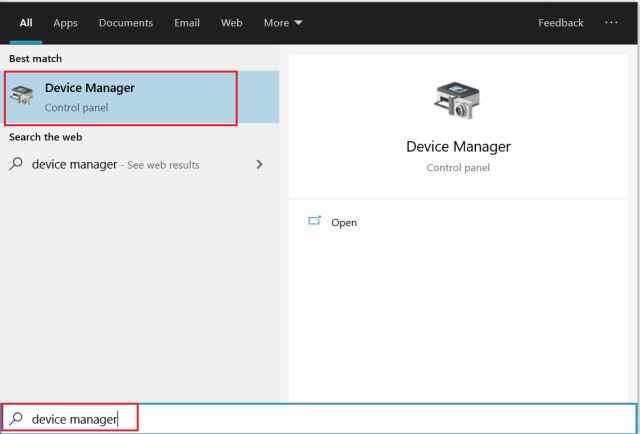
Next, press the Windows key once and search for “device manager“. Now, open it.
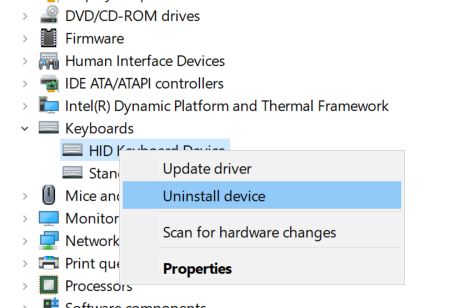
Here, expand the “Keyboards” menu and then right-click on the Keyboard entry. Now, select “Uninstall device”. You might be asked to restart your computer. If there are multiple entries then uninstall them as well. Just make sure to not uninstall the external keyboard if you have plugged one.
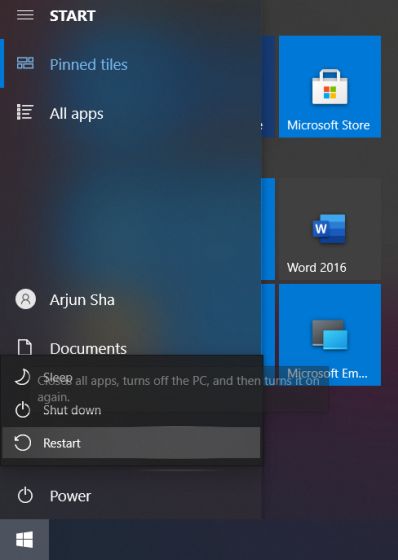
Finally, restart your laptop and this time, the laptop keyboard will be disabled on Windows 10.
Permanently Disable a Laptop Keyboard on Windows 10
So that is how you can permanently disable a laptop keyboard on Windows 10. Windows 10 has a feature that auto-installs the driver whenever it discovers a new device. However, with the Group Policy changes we mentioned above, Windows 10 will be unable to install the driver for the keyboard which will render it defunct. Anyway, that is all from us. If you want to learn more such Windows 10 tips and tricks then go through our linked article.
