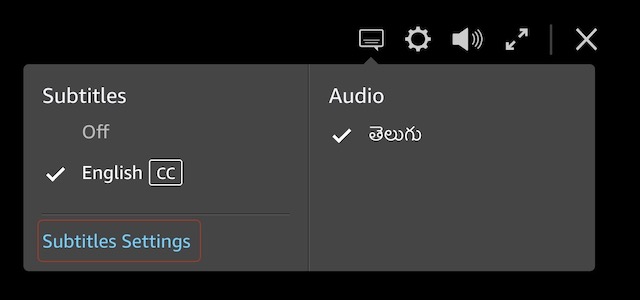
Play the movie or TV-show that you want to watch and click on the subtitle icon.
Here, you can choose the language of subtitles if multiple subtitle languages are supported. To customize subtitles, click on the “Subtitle Settings” option.
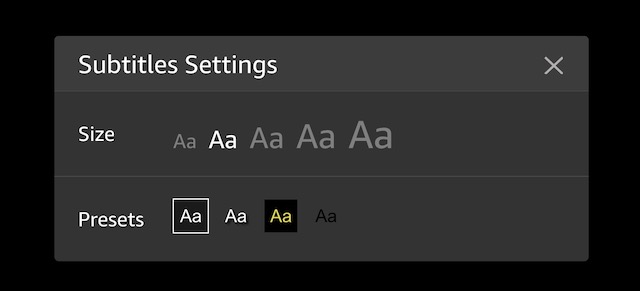
Here, you can select the size of the subtitles and different subtitles preset.
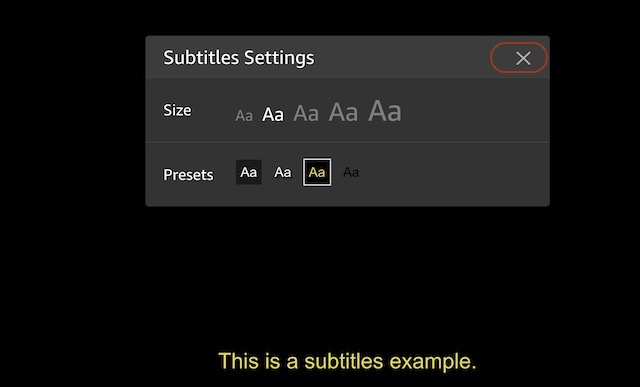
Note: We will learn more about customizing subtitles presets in the next section. 4. You can see the changes that you apply in the example below. Choose the one you want and then click on the “X” button to save changes.
If you want more controls over your subtitle customization, you can use the advanced subtitle customization features. The best part is that you can save presets and switch between them on the fly.
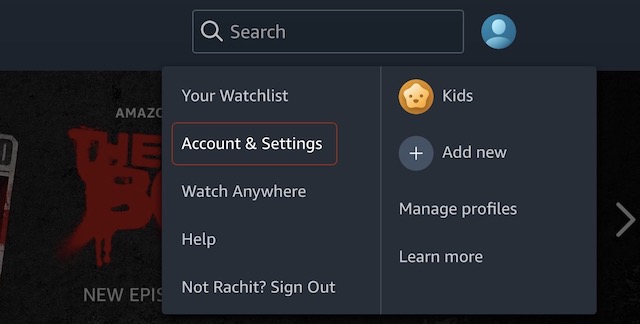
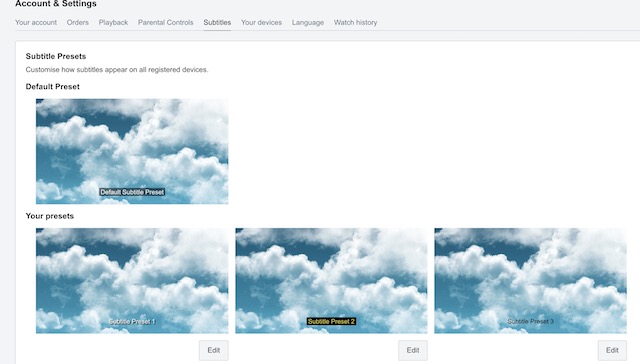
Click on the Profile icon and then click on Account & Settings.
Now, click to open the “Subtitles” tab.
Here, you will see the Default preset along with three other subtitles presets under the “Your Presets” section.
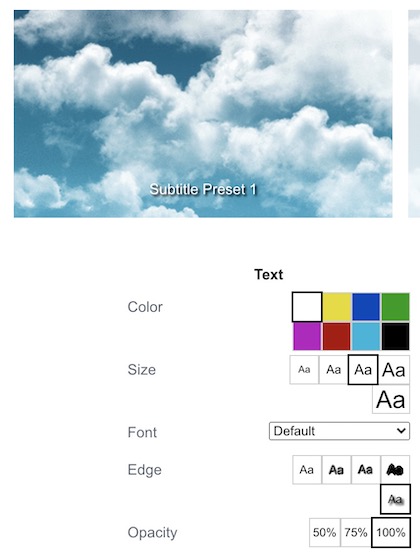
Click on the “Edit” button below a preset to customize it.
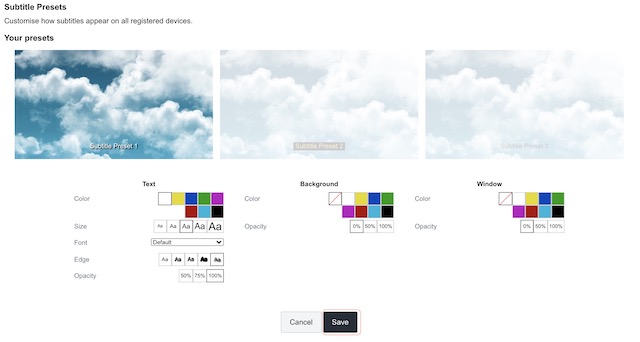
As you can see in the screenshot below, there are quite a few options that you can change here. You can select color, size, font, look, and even the opacity of subtitles.
Once done with your customization, click on the “Save” button to save the changes.
You can customize and save three sets of presets and change between them using the subtitle icon when playing a video, as I showed in the first section of this article. While this is not an important factor when comparing the two popular video streaming giants, I love these types of quality of life improvements. What do you think? Let us know in the comments below.

